August 28, 2019
Better Living through Microsoft Word Tables, Part 2: Advanced Table Wrangling
The Tables function in Microsoft Word is one of its most useful features! Unfortunately, it’s also one of the most often misused (or even ignored).
If you’ve ever been frustrated or baffled by someone else’s table-related behavior, or if you’ve ever had trouble with tables yourself (and haven’t we all?), this series is for you!
In Part 1, we covered the fundamentals of creating, manipulating, and formatting tables. In Parts 2 and 3, we’ll get into some more advanced tips and tricks!
Excel shortcut #1
What if you find making tables in Word tedious and difficult, but are a confident user of Excel? Good news: You can turn your Excel table into a Word table simply by copying and pasting the relevant cells into Word!


Make sure that you select exactly and only the Excel cells you want, and check your new Word table carefully after pasting.
Merging and splitting cells
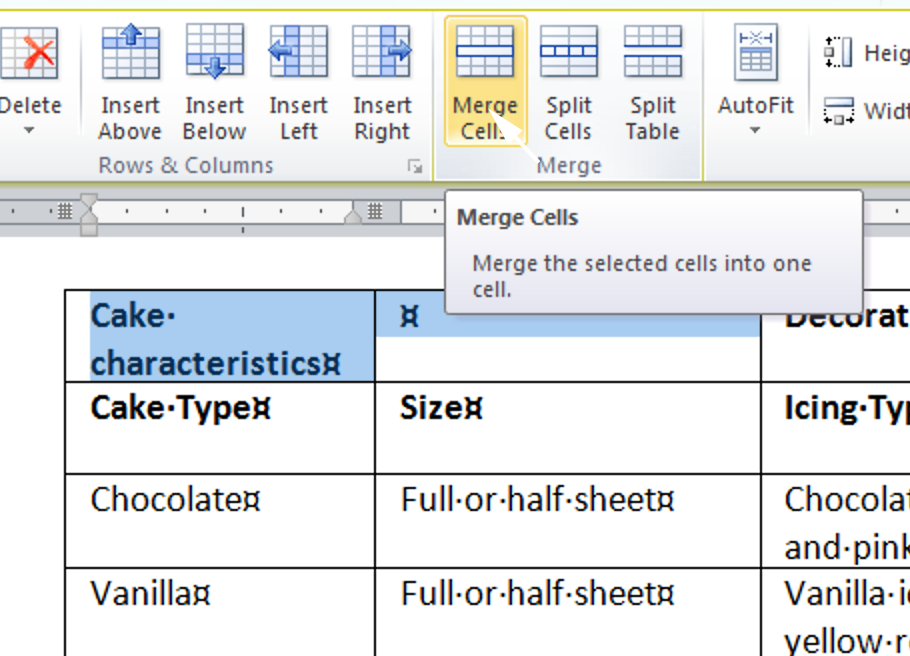
Sometimes you need to create spanning cells—for instance, a single heading that covers several columns of data—and sometimes you need to turn one cell, row, or column into more than one. Word provides tools for this on the Table Tools > Layout tab:
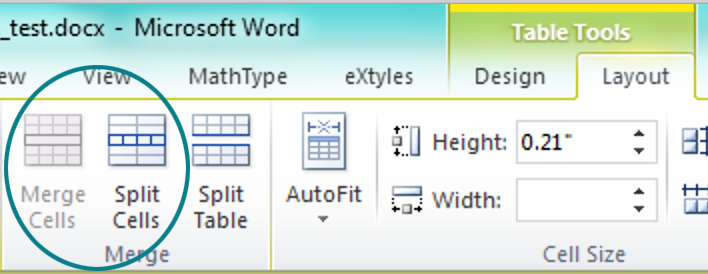
To merge two or more cells, select the cells you want and click Merge Cells. (You can also right-click and choose Merge Cells from the pop-up menu.)
If the second cell is empty, you’re now done:
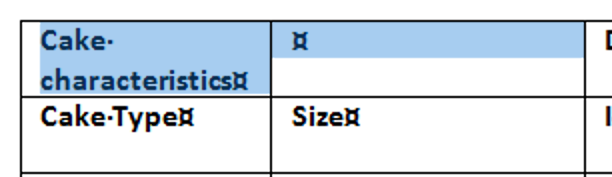

If, on the other hand, there is anything at all in the second cell—even a single space!—the row or column divider will be converted into a paragraph break, which you’ll then need to delete:


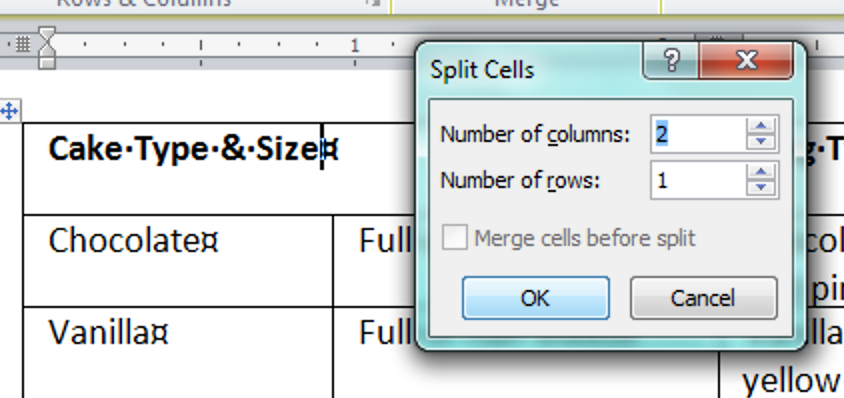
The Split Cells function works the same way, but in reverse. However, when you click Split Cells, you’ll be asked to specify how many rows and how many columns you want to end up with:
Using the Draw Table function
One thing we love about Microsoft Word is that it so often gives you several different ways to do the same thing, depending on your needs and preferences. We just talked about using Merge Cells and Split Cells to make changes to the structure of a table; an alternative and sometimes easier way to do the same thing is to use the Draw Table and Eraser functions. These buttons live on the Table Tools > Design tab:
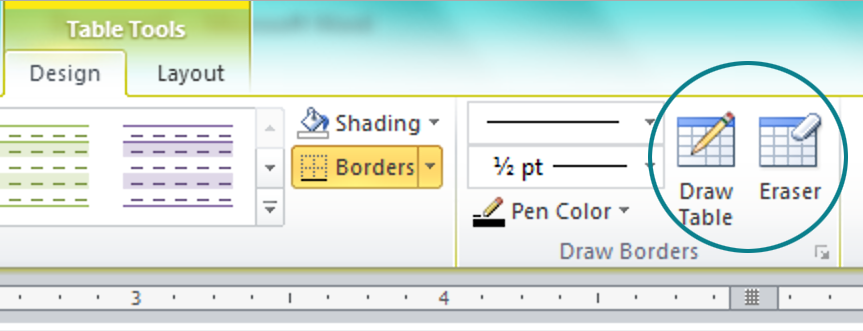
The Draw Table button lets you use your mouse to draw new row or column borders in your table; the Eraser button lets you select borders to delete.
→ Tip: Draw Table and Erase do exactly the same work as Split Cells and Merge Cells, respectively, and both sets of tools alter the structure of your table. So you might expect to find Draw Table and Erase on the Table Tools > Layout tab—but in fact they live on Table Tools > Design. In many contexts, Draw Table is a faster and more targeted tool than Split Cells, so if you haven’t used it, we encourage you to give it a try!
Excel shortcut #2
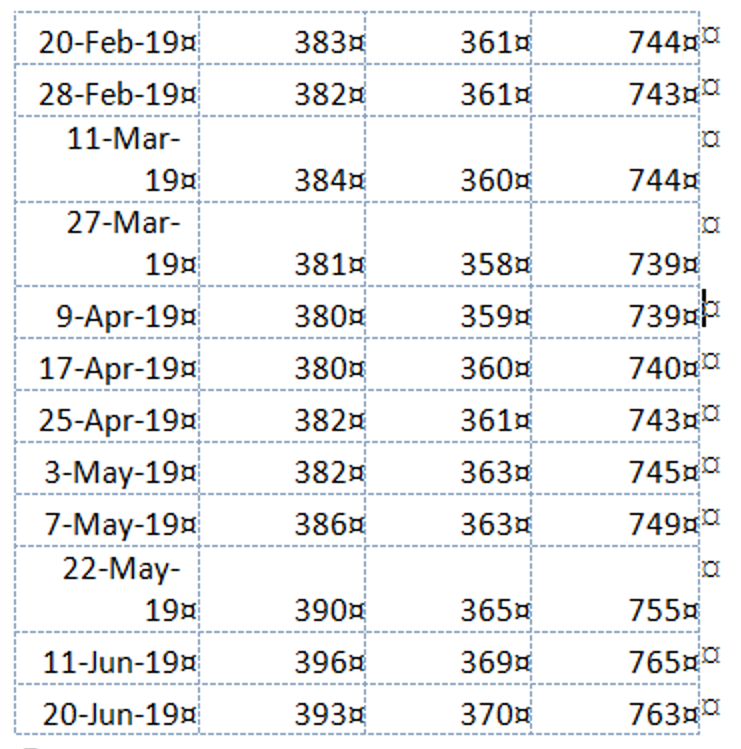
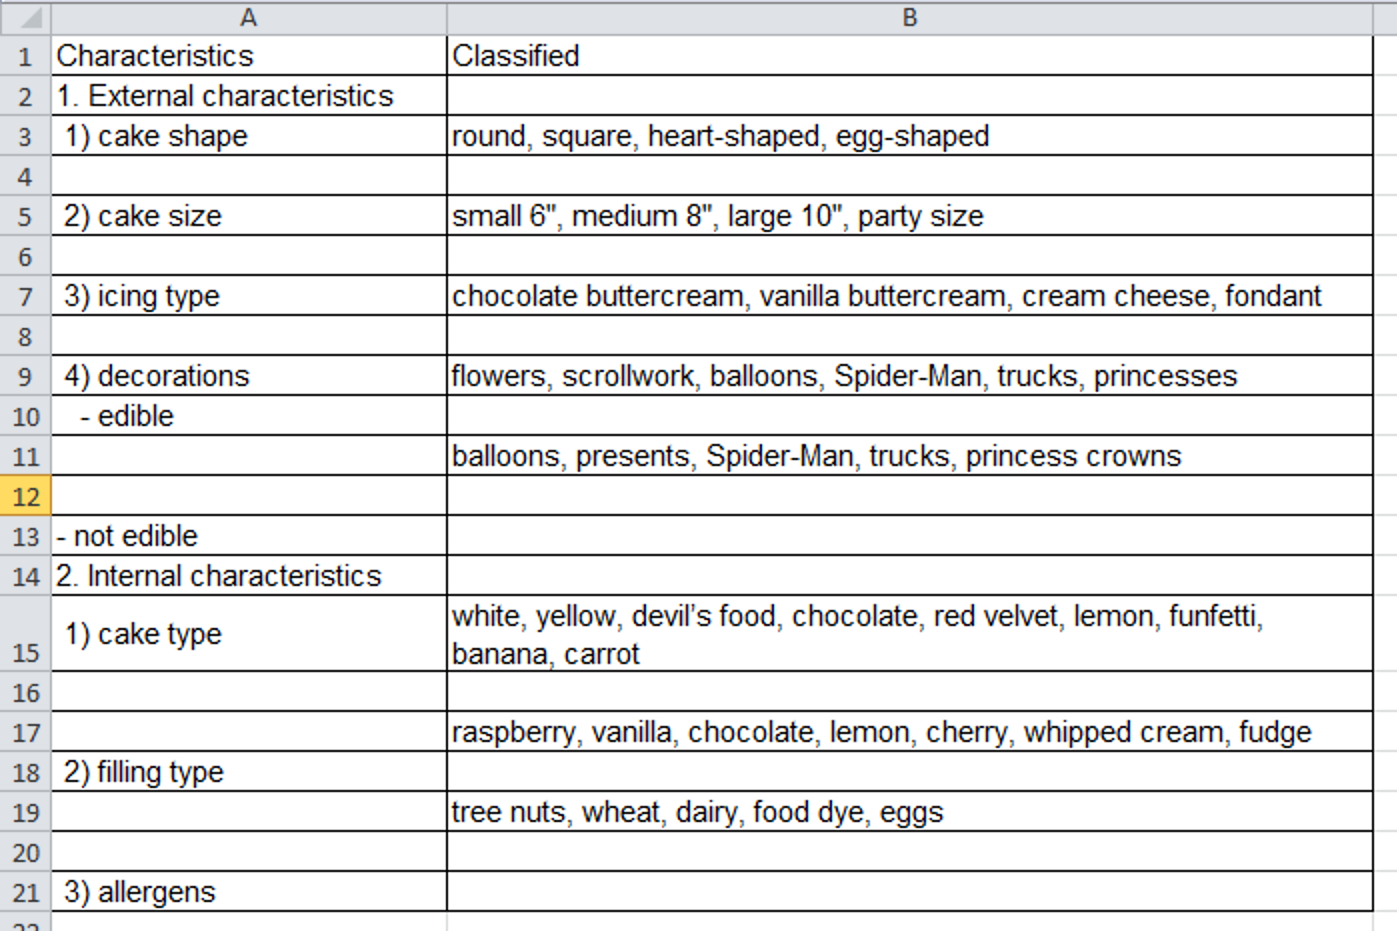
There’s another way Excel can help with Word tables—usually someone else’s tables that are giving you trouble. Sometimes it seems easier to just hit Enter between items in a table cell, instead of giving each data row its own table row:
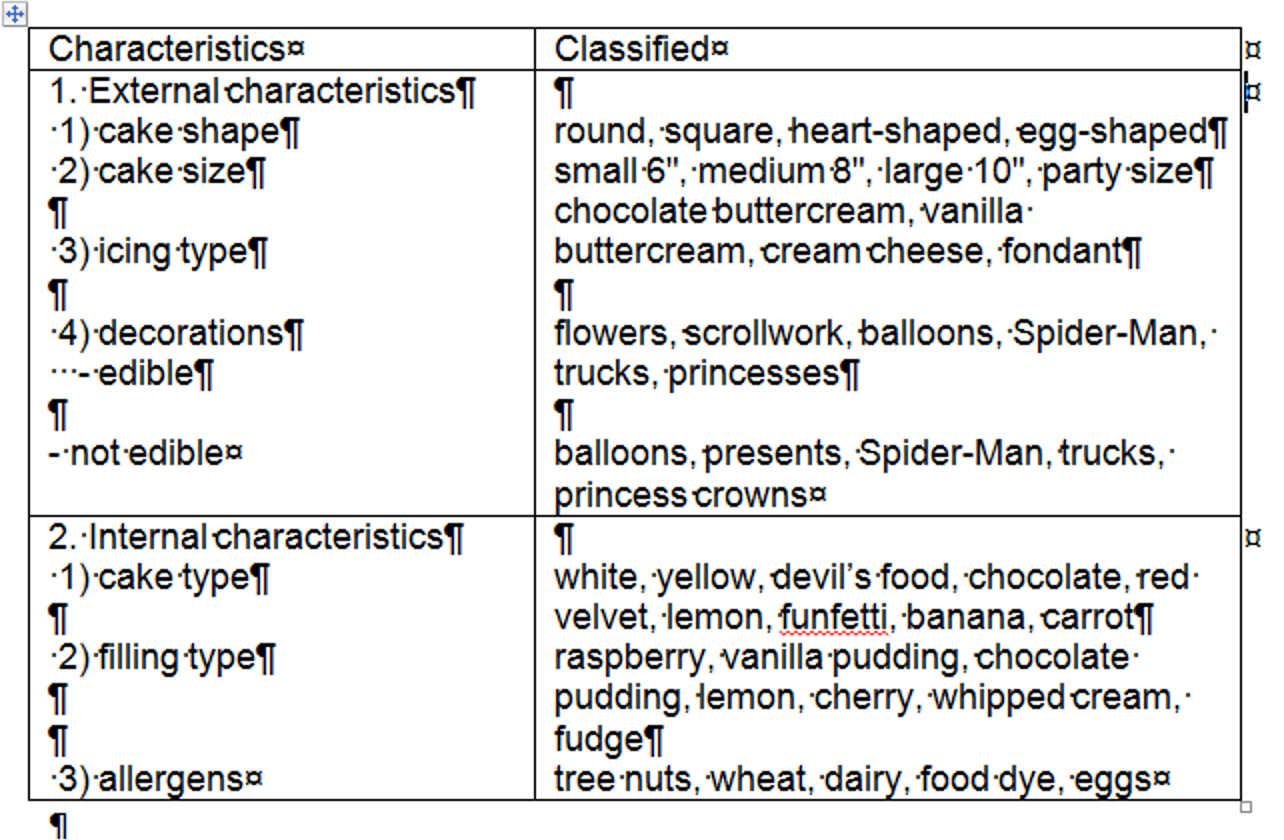
But you can probably imagine what happens when any kind of processing happens to this table:
You can use Split Cells or the Draw Table tool to create row divisions, and if there are very few instances, those methods will be easy and quick. But you can also try copying the text to the clipboard and pasting it into a new Excel file.
→ Tip: Don’t worry about getting the number of rows and columns right; just paste everything into the A1 cell, and Excel will sort it out.
Excel will correctly interpret the paragraph marks and break out the pasted content into separate cells:
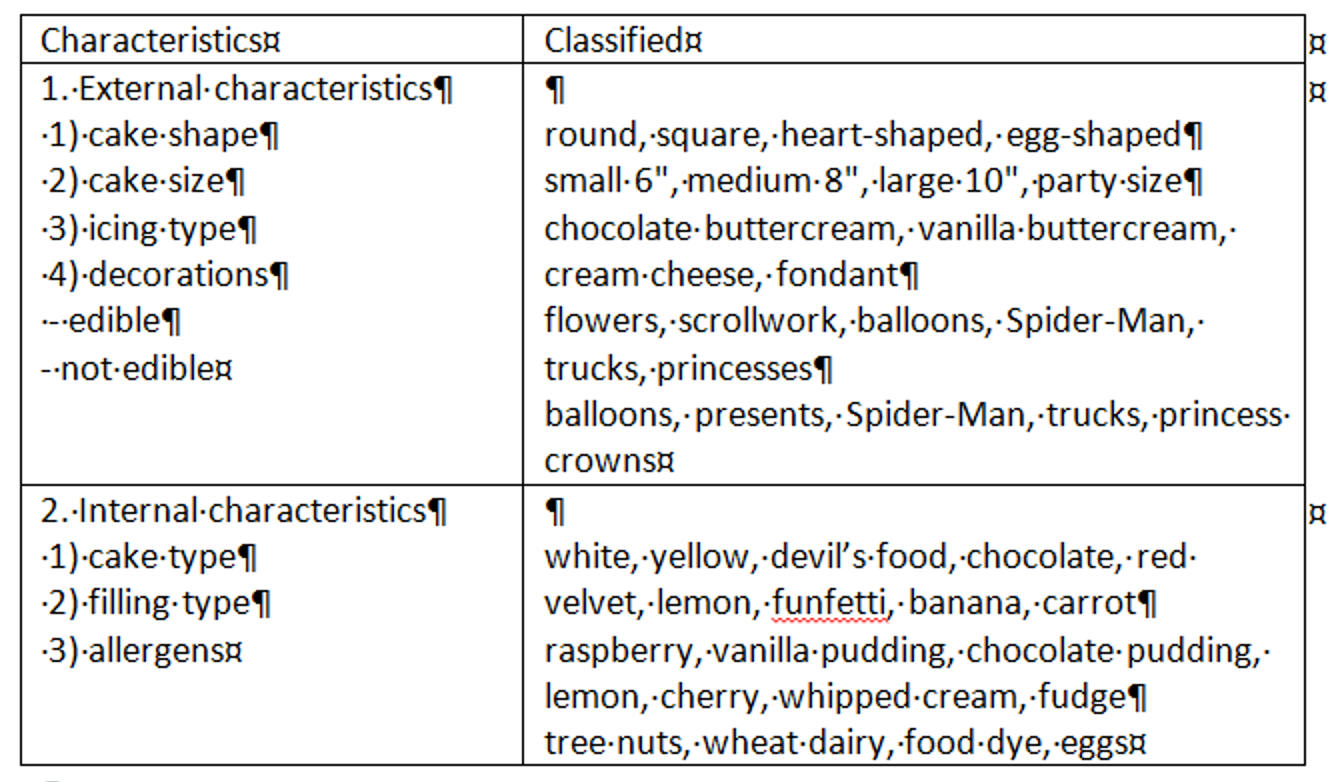
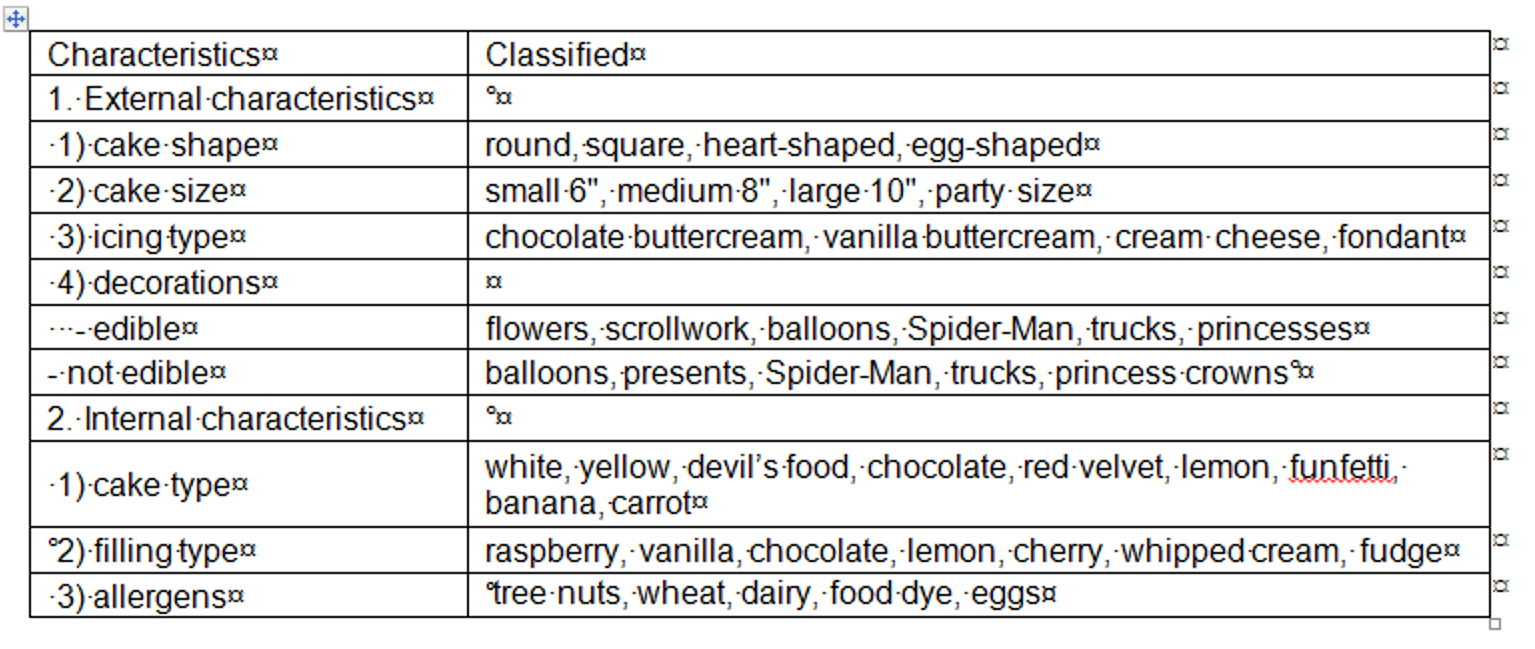
You can then copy the table back into Word, and, Voilà!—a correctly formatted Word table!
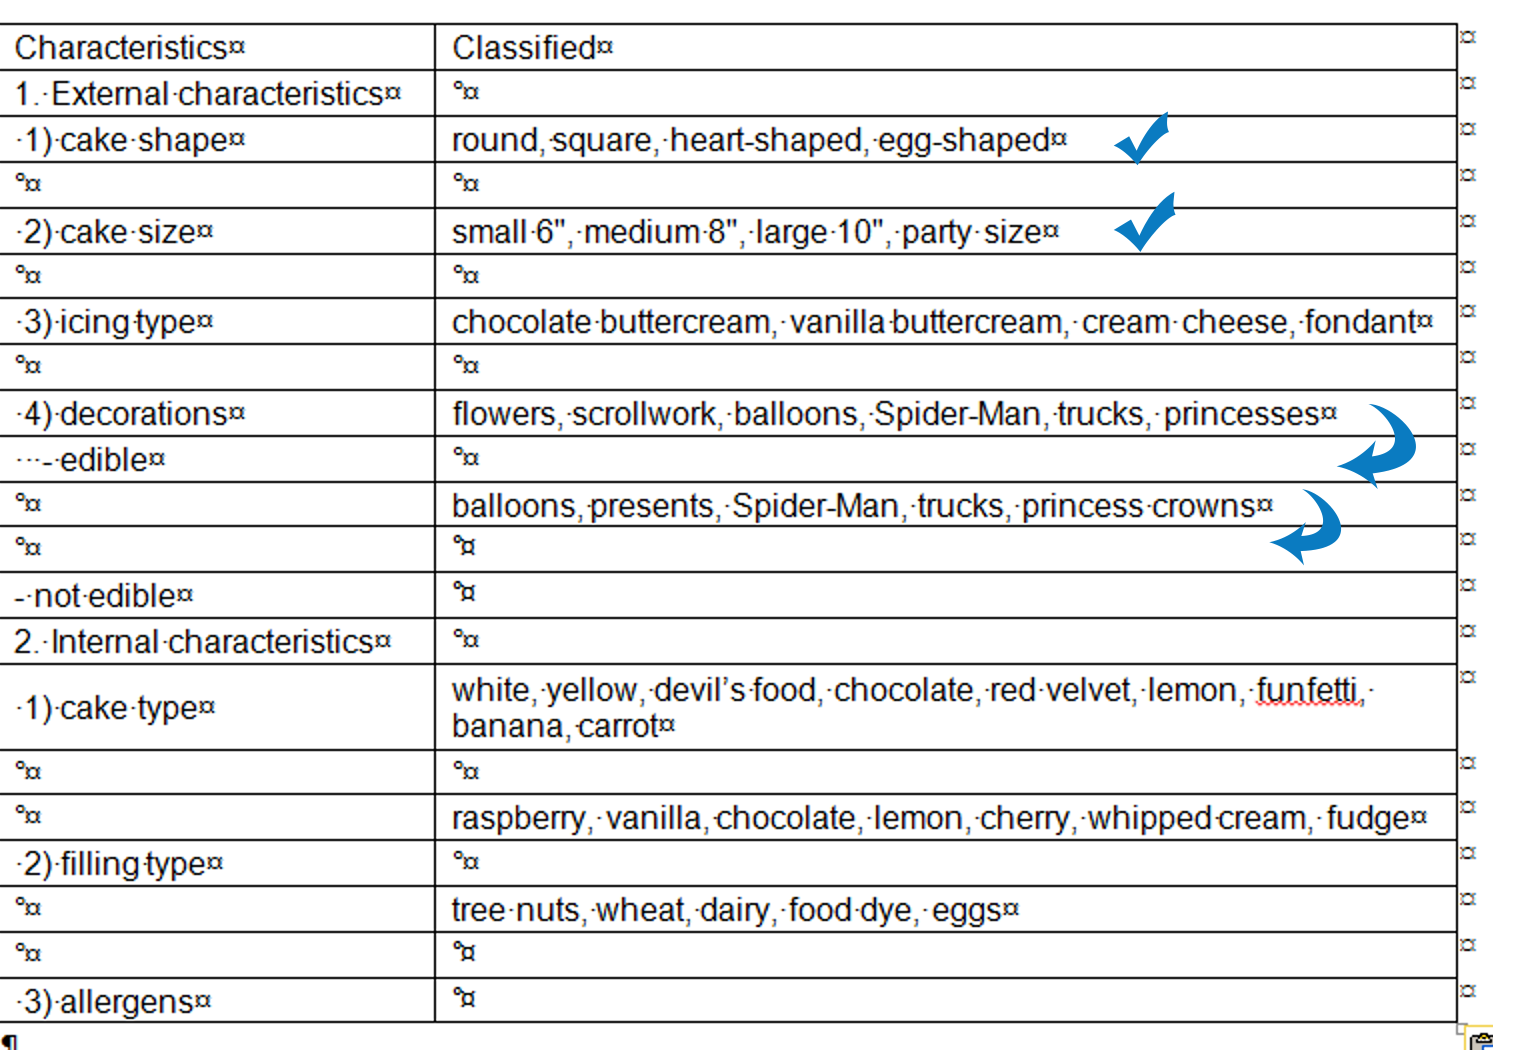
Now, you’ll notice that in this complex case, there are some errors in how Excel has divided up the rows; to turn this into the perfect table, you’ll still need to move some text to a different cell and delete some empty rows. But given what we started with, this method has still saved you a non-trivial amount of time and work:
Original version:
Final version:
→ Warning: It’s usually best to save your splitting and merging for last, because tables containing merged and split cells, columns, or rows can be a bit tricky to manipulate.
Stay tuned for Part 3 of this series, in which we’ll tackle nested tables, aligning tabular data on the decimal, how to handle header rows in very long tables, and what you should and shouldn’t use a table for. (Missed Part 1? You can read it here!)